GWS Application and Configuration
流程
- 申請 GWS 試用帳號
- 設定 GWS 帳號
- 設定 DKIM 驗證
- 設定 SPF 驗證
本測試環境
- GWS Starter
- 網域註冊於 Google Domains
- DNS Server 使用 GCP Cloud DNS
步驟
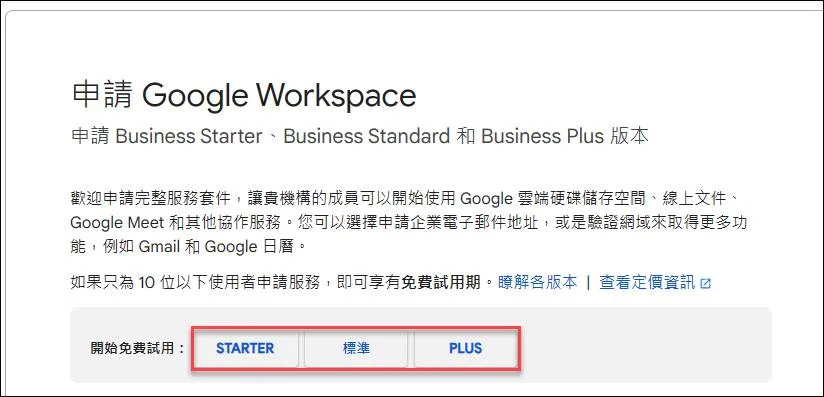
申請 GWS 試用帳號
至以下網站申請,可試用三種版本
申請 Google Workspace - Google Workspace 管理員說明
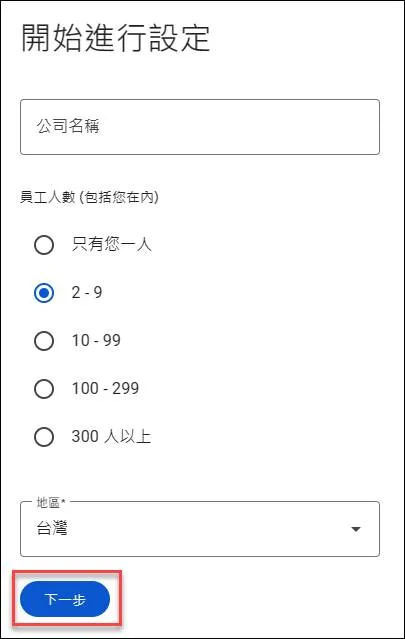
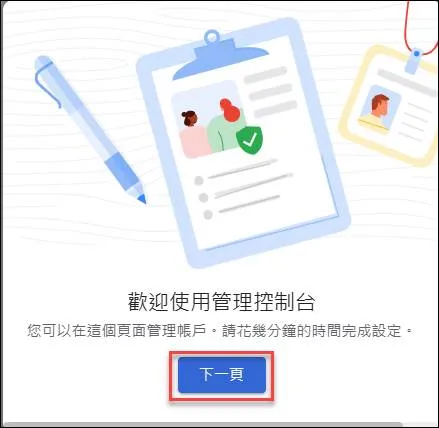
點選下一步
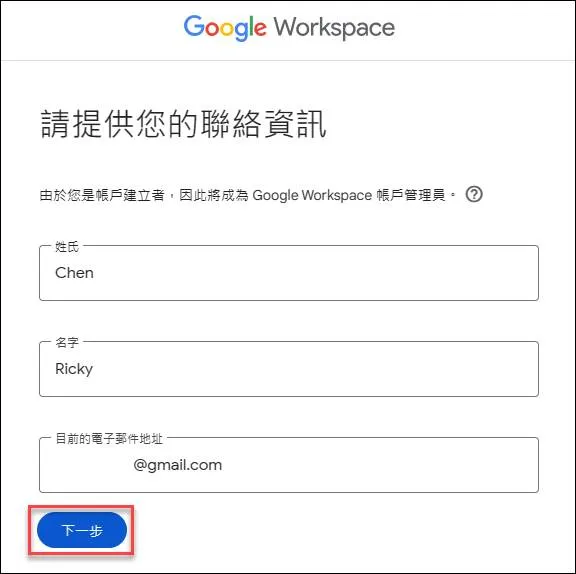
輸入姓名與信箱後點選下一步
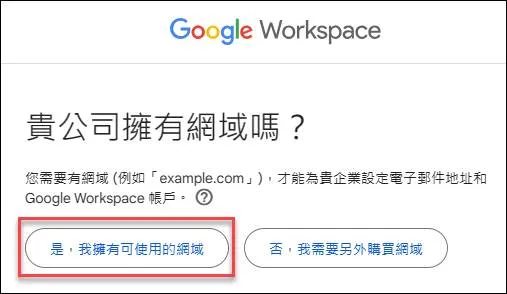
如果已有網域點選左邊即可
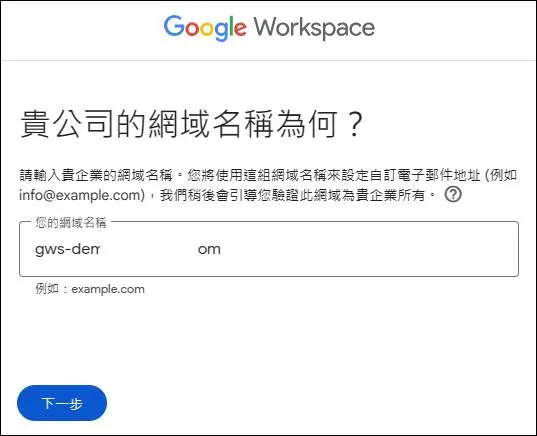
輸入網域名稱點選下一步
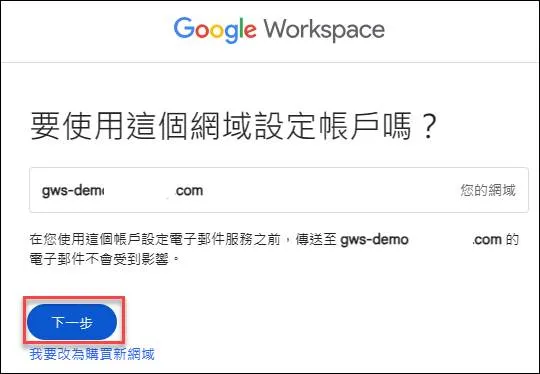
確認使用網域後點選下一步
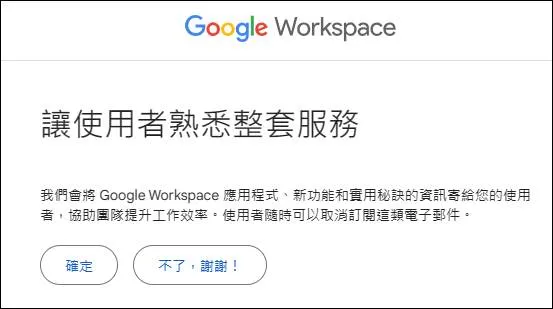
可點選確定或不用
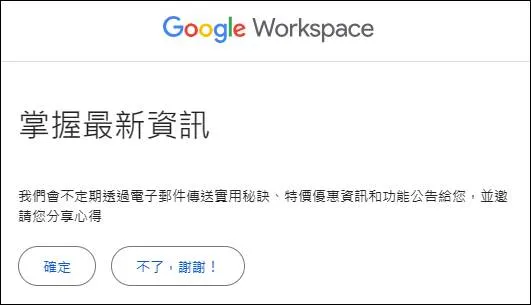
可點選確定或不用
輸入管理者的帳號密碼與機器人驗證,最後同意並繼續

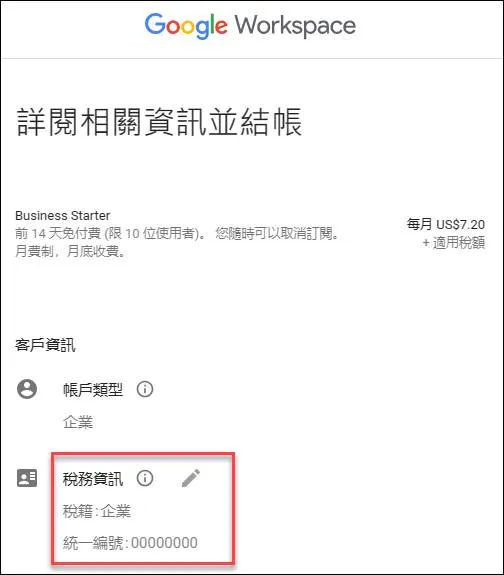
設定 GWS 帳單
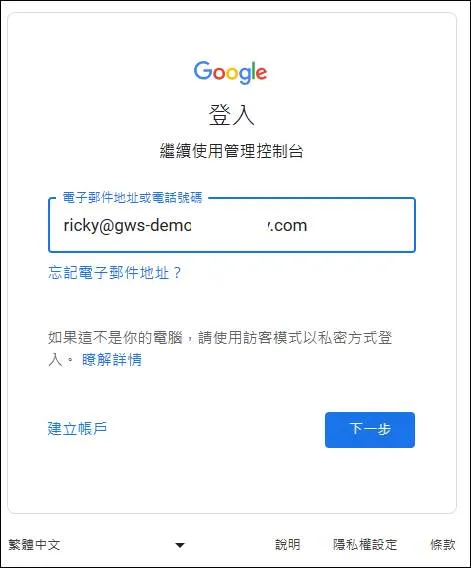
登入 GWS
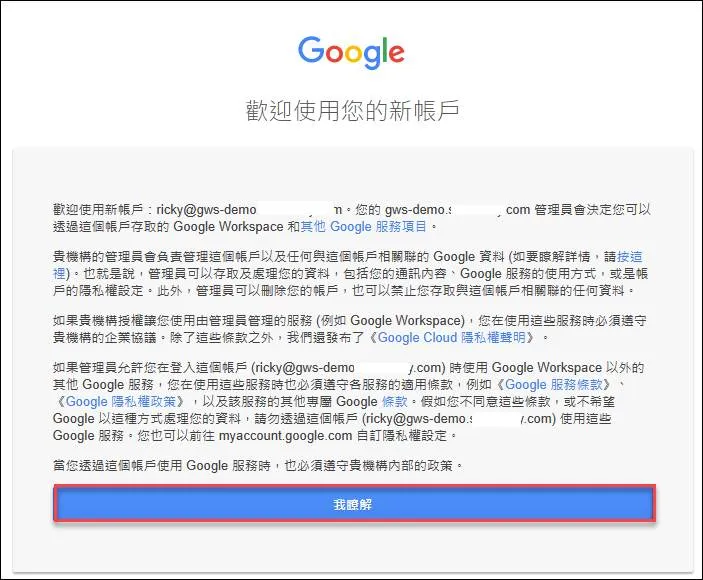
同意條款
點選免費試用14天
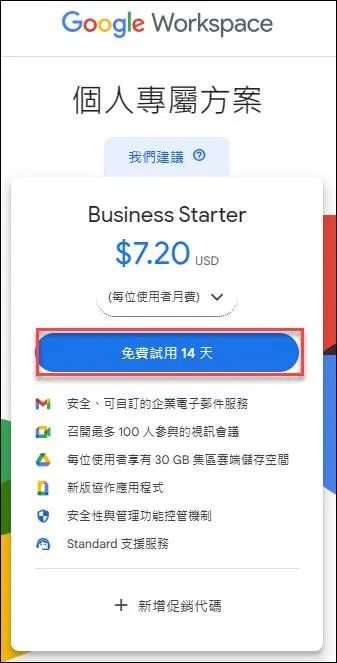
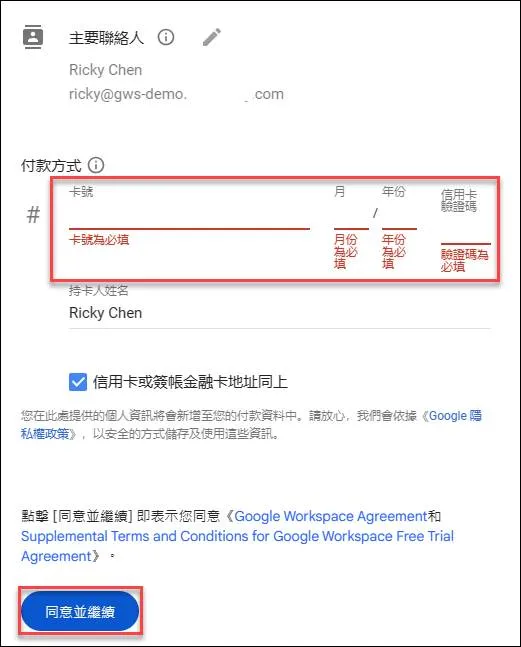
試用帳號仍需綁定信用卡
填寫完成後同意並繼續
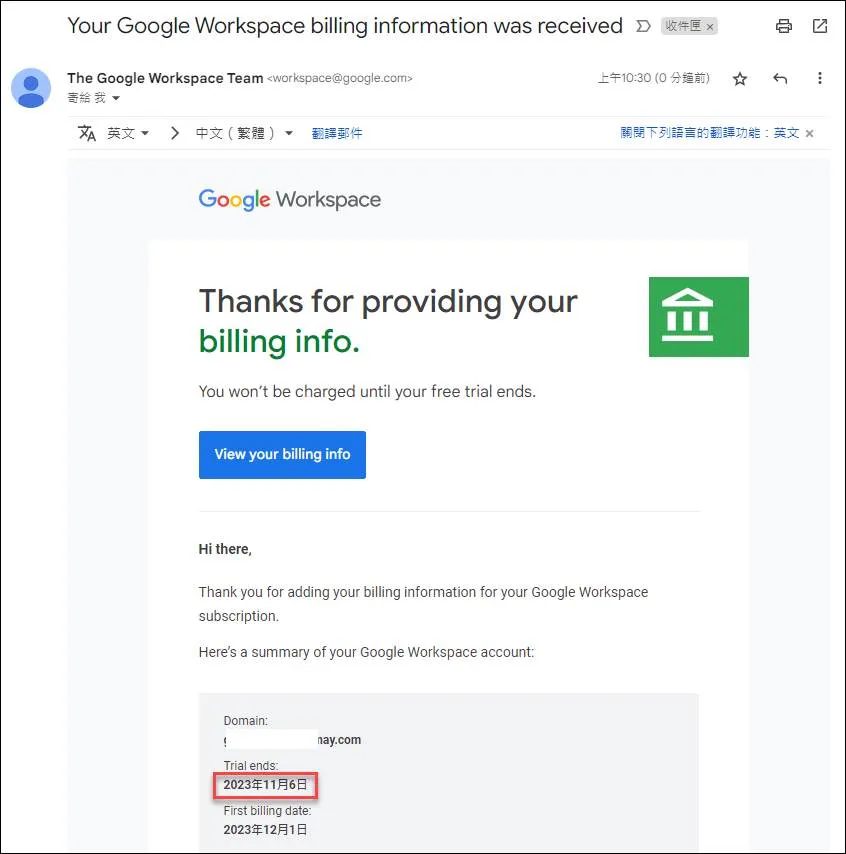
會收到信告知試用截止日
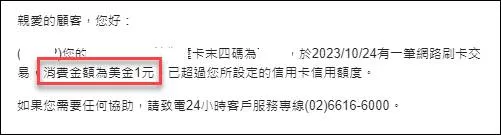
信用卡會刷一美元
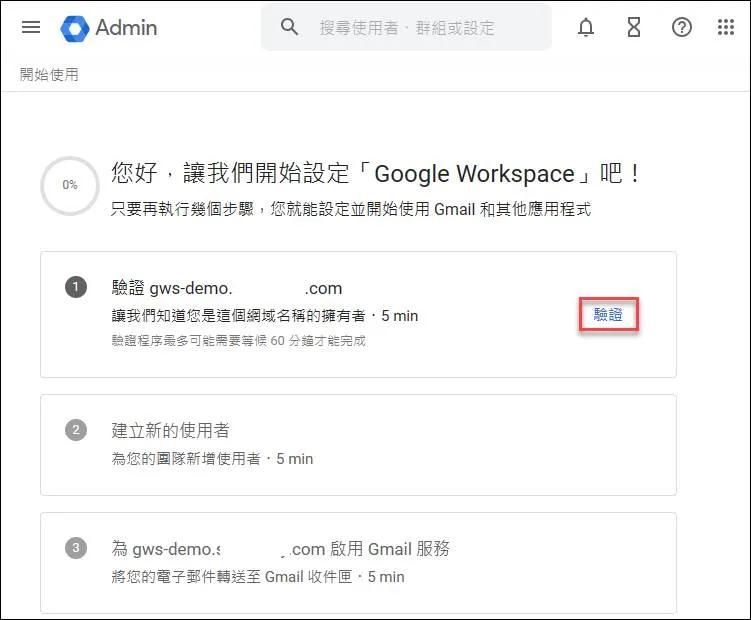
接著進入會到管理控制台
驗證網域
需先驗證網域,點選驗證
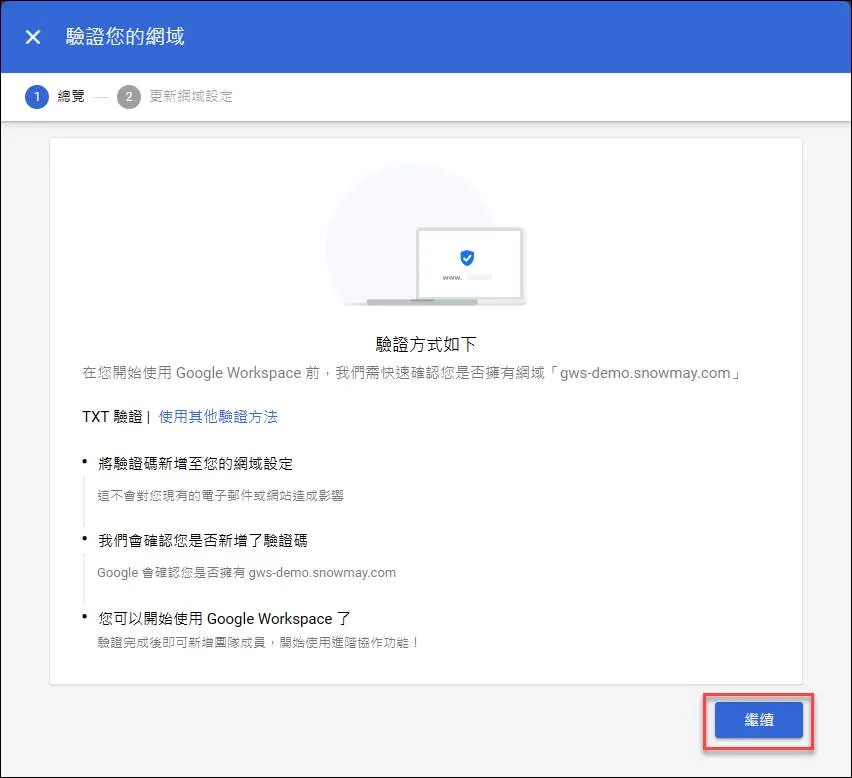
點選繼續
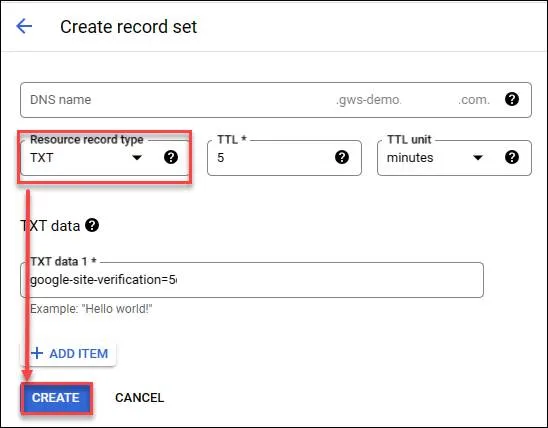
複製 TXT 紀錄
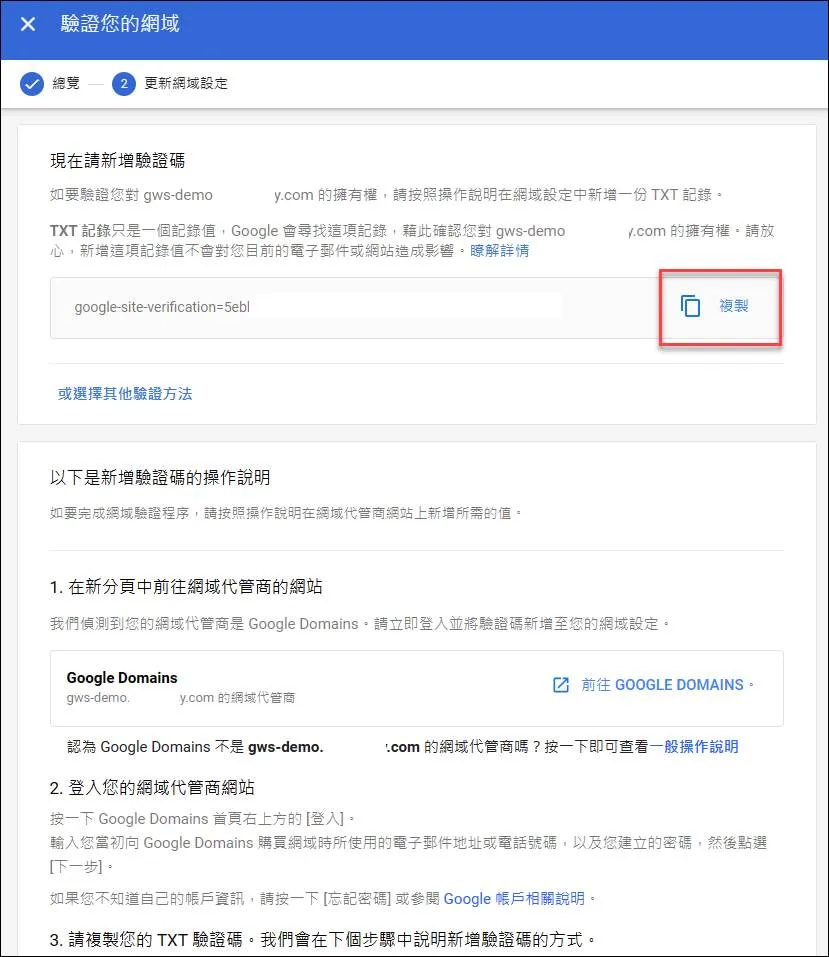
至 GCP CloudDNS 設定 TXT 紀錄
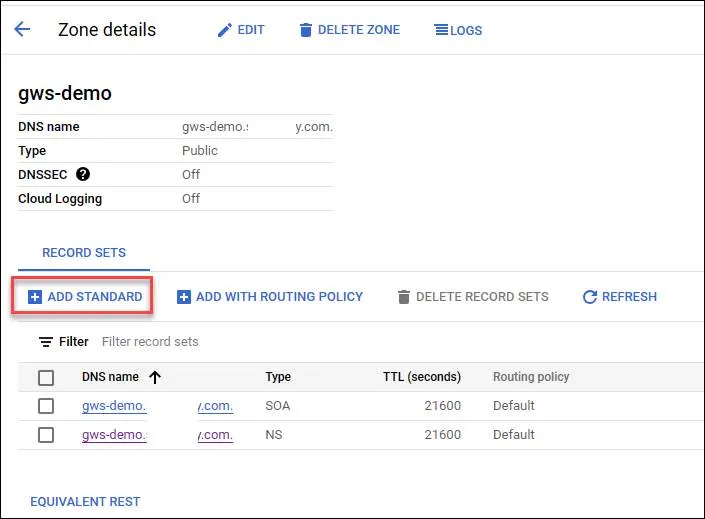
建立紀錄
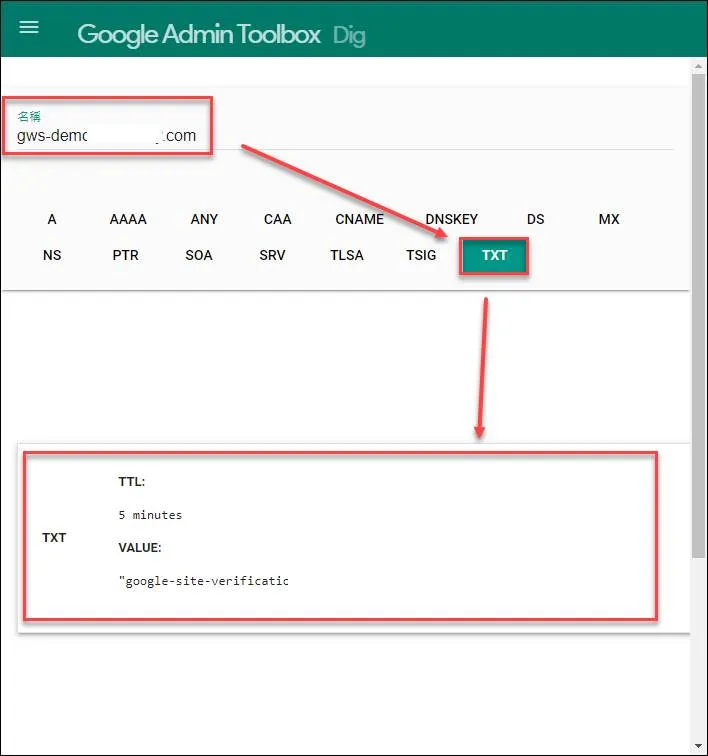
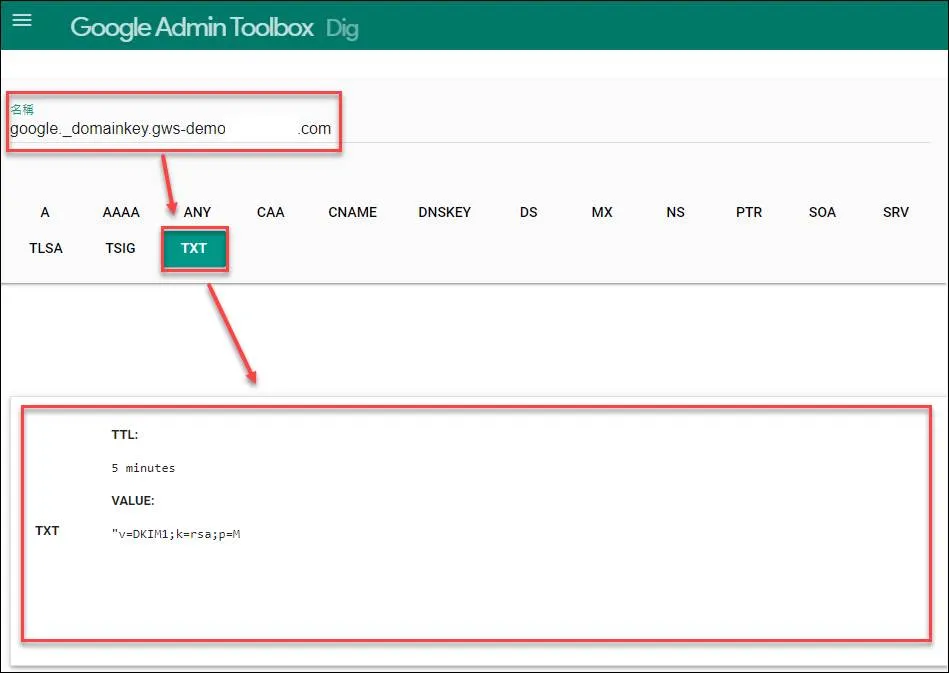
可至 Google Dig 工具查詢確認是否生效
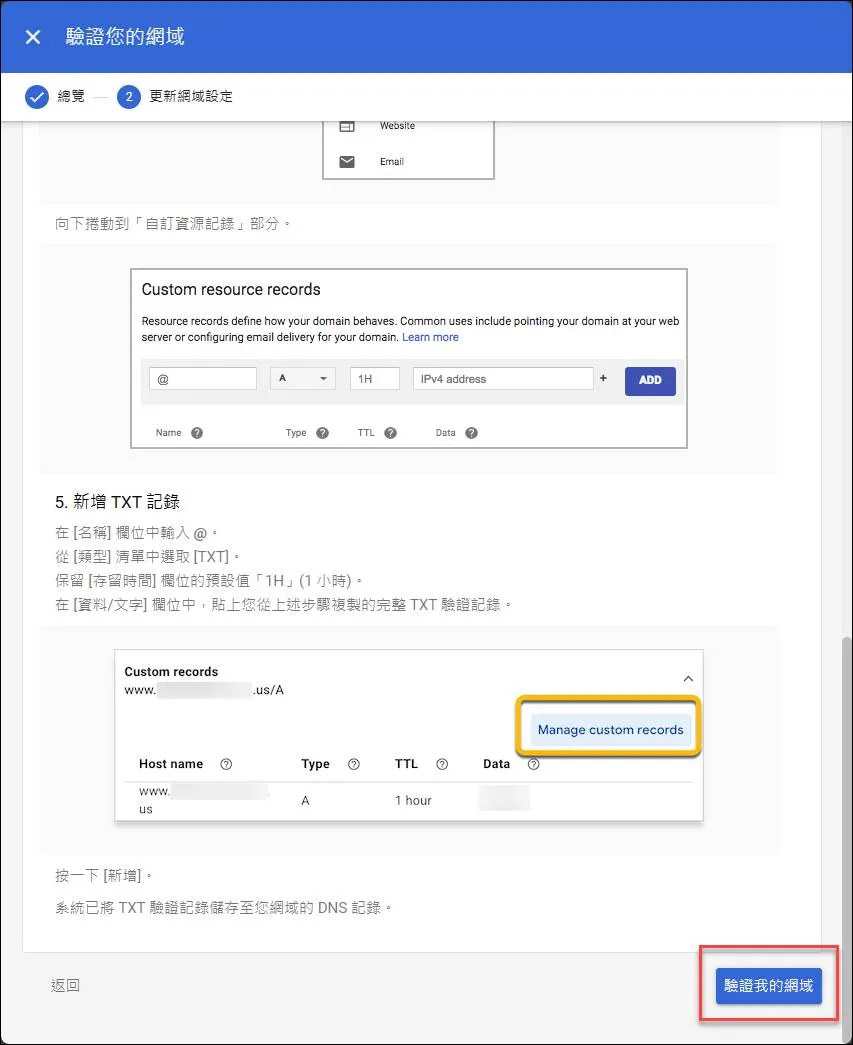
開始驗證
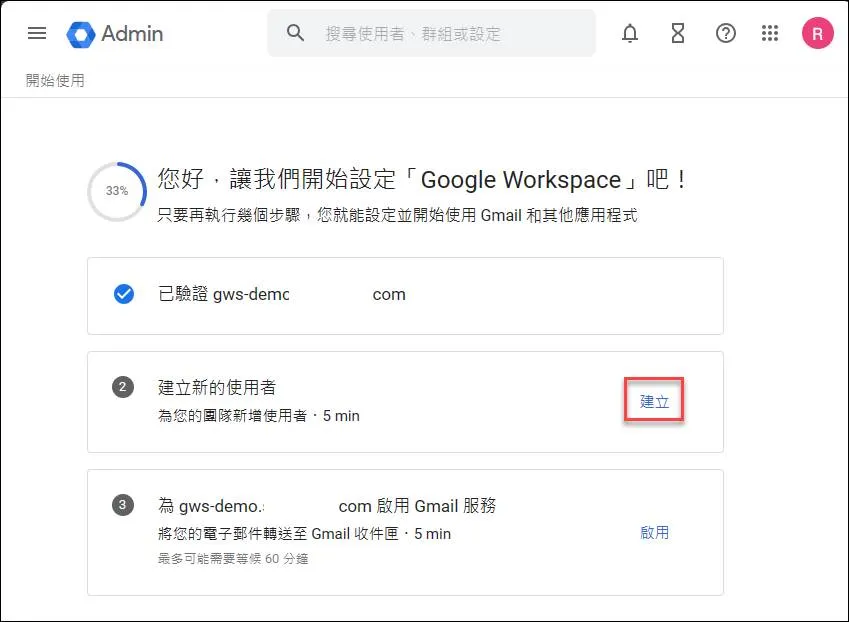
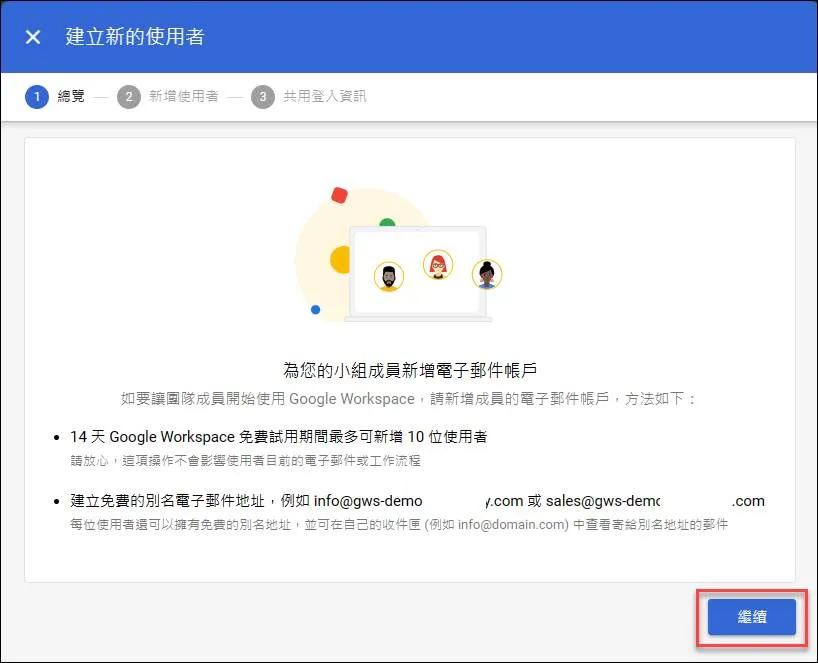
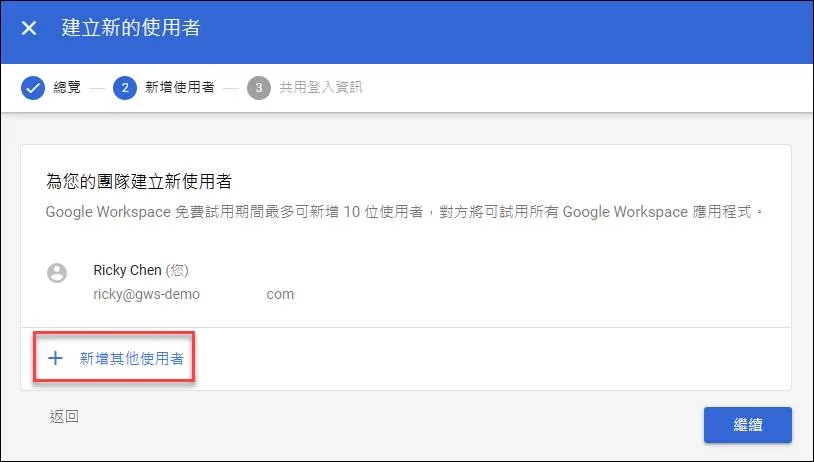
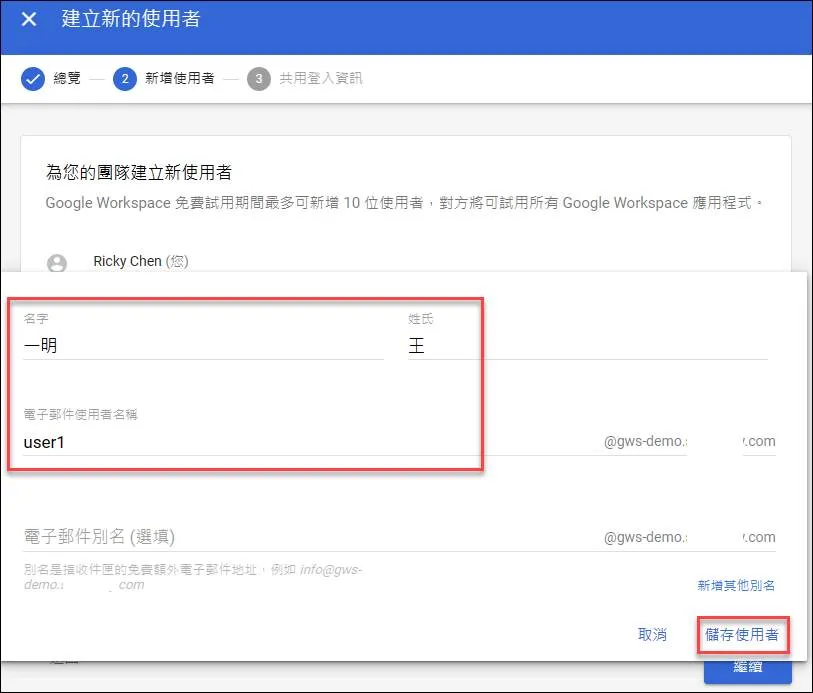
建立使用者
點選建立
點選繼續
點選新增其他使用者
輸入姓名與帳號
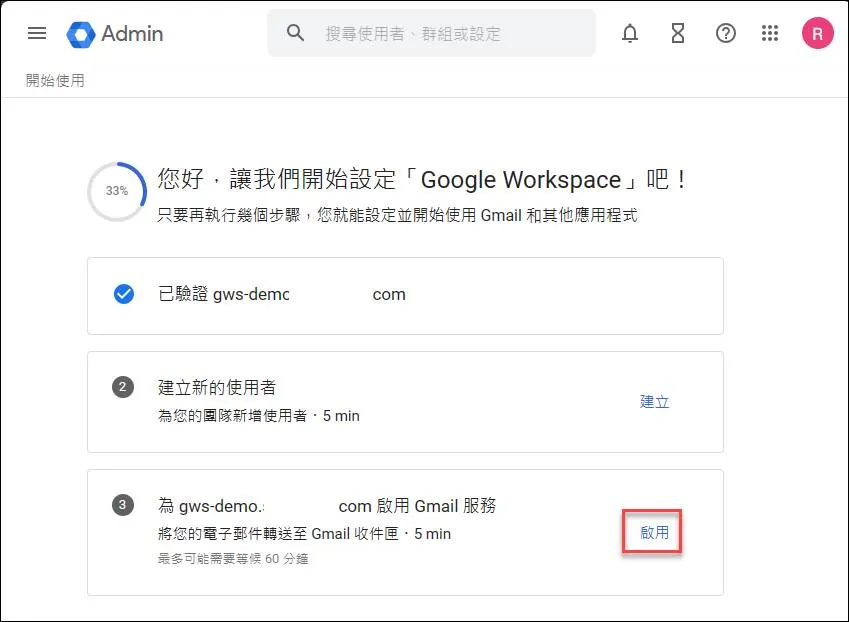
啟用 Gmail 服務
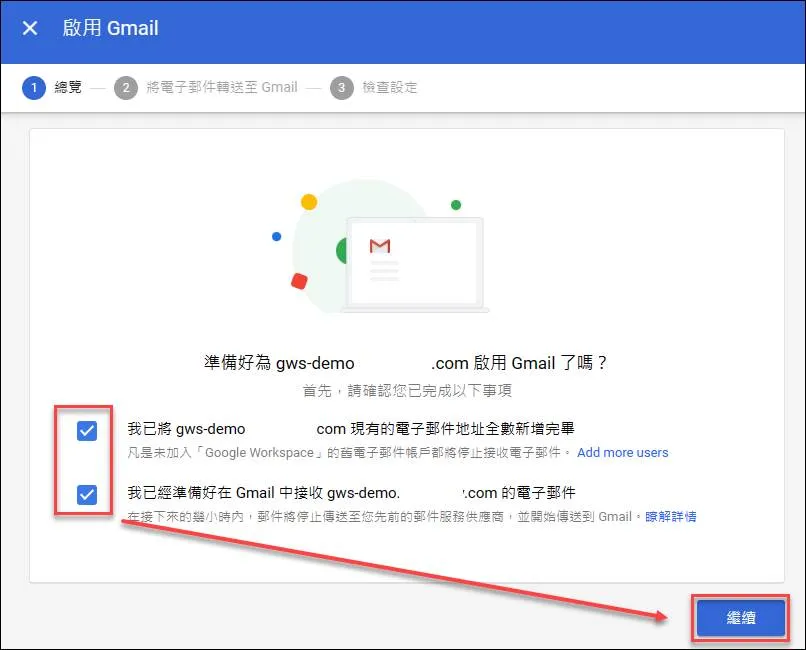
點選啟用
勾選後點選繼續
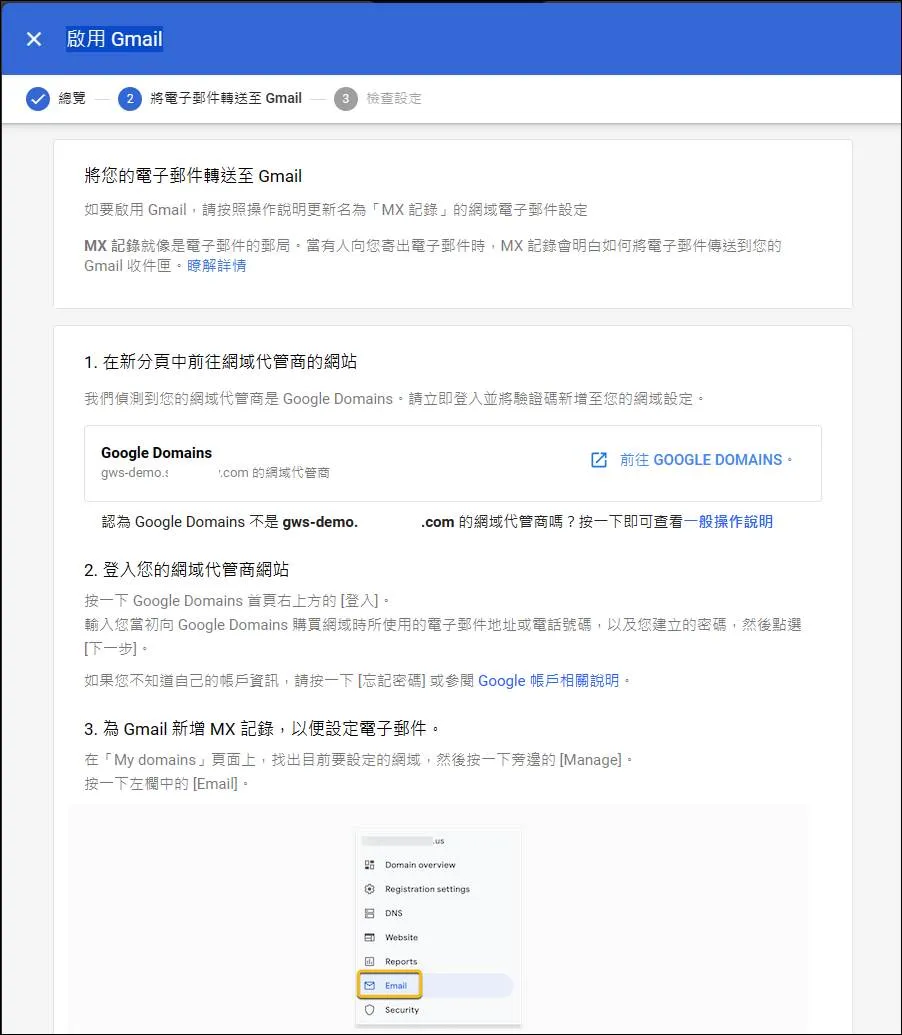
進行 MX 紀錄設定
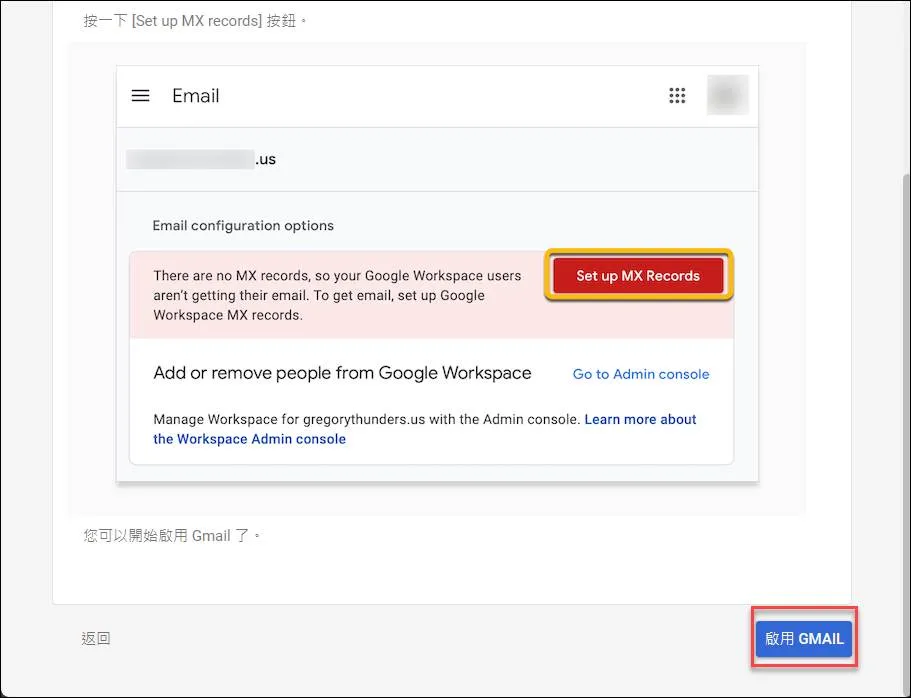
捲到最下面點選啟用 GMAIL
出現 MX 紀錄設定
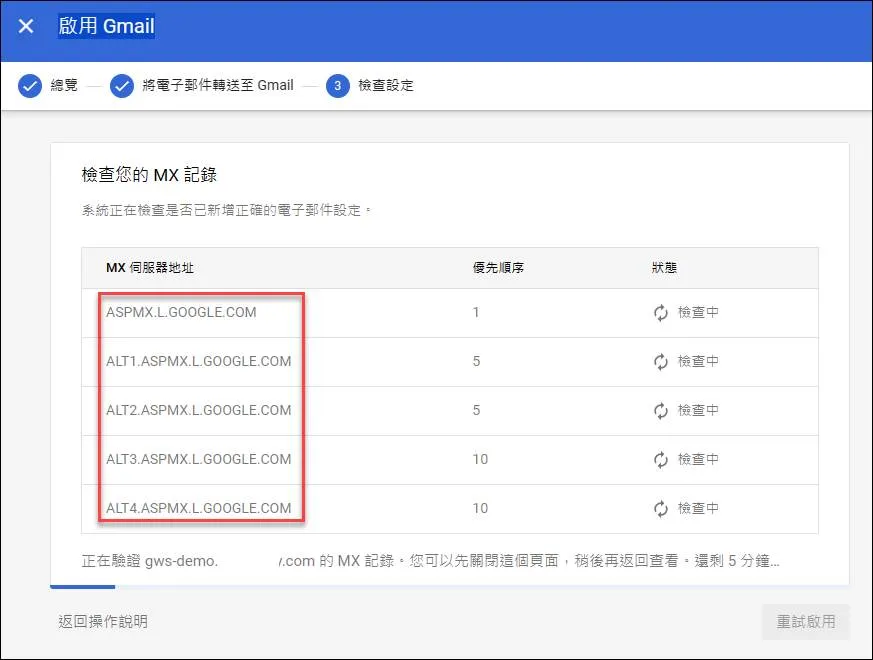
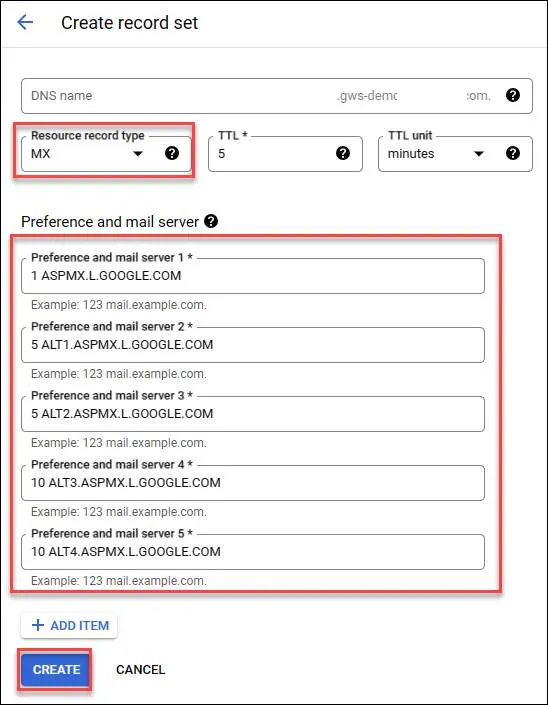
一樣至 GCP CloudDNS 進行設定,不過MX紀錄前要加上數字,此數字為優先順序
完成後會到此頁面

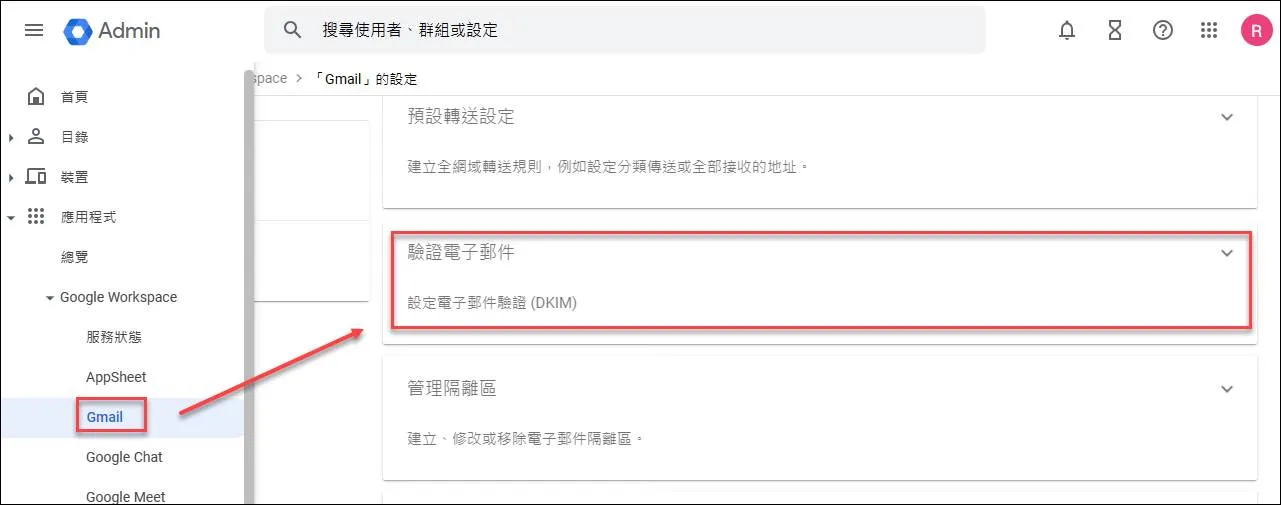
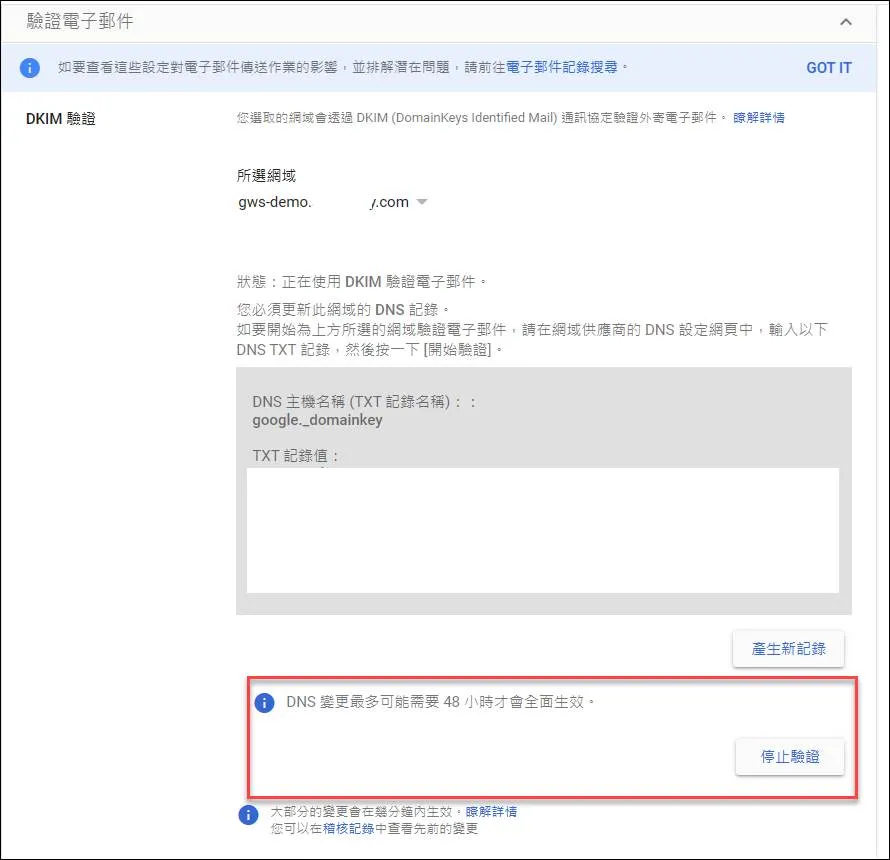
DKIM 驗證
進入
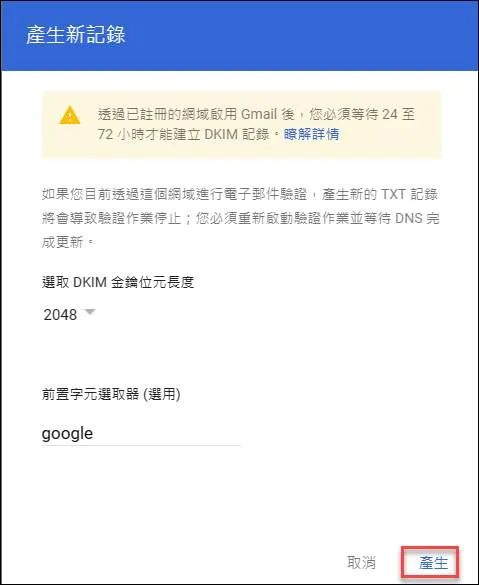
點選產生新紀錄

點選產生
複製紀錄
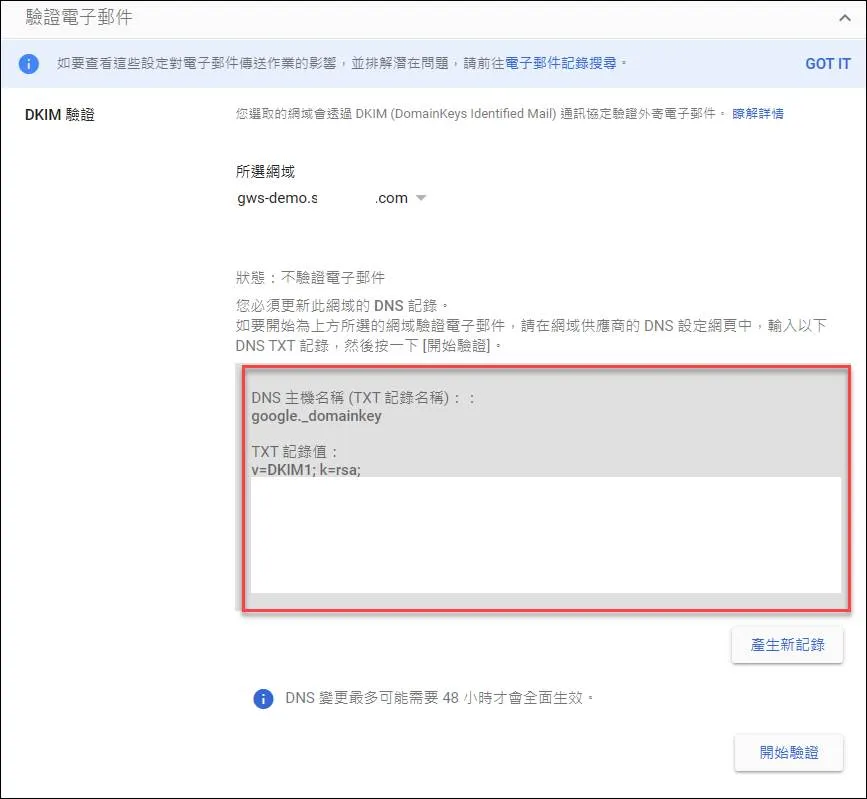
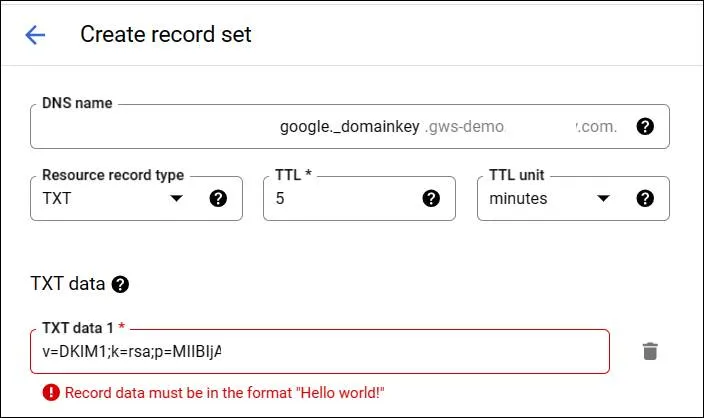
貼上至 GCP CloudDNS 上,會發現無法通過驗證
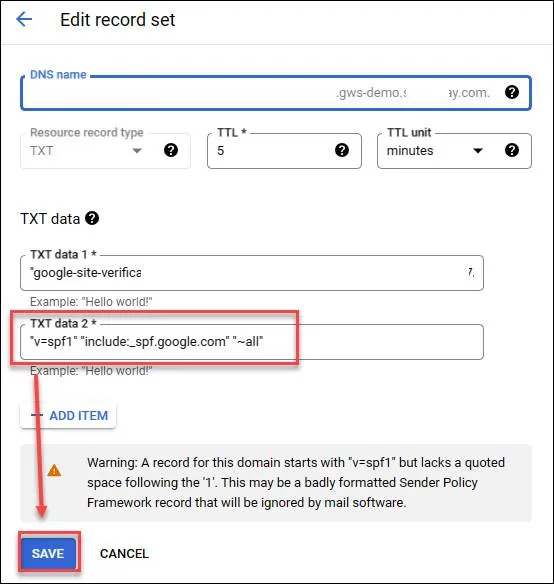
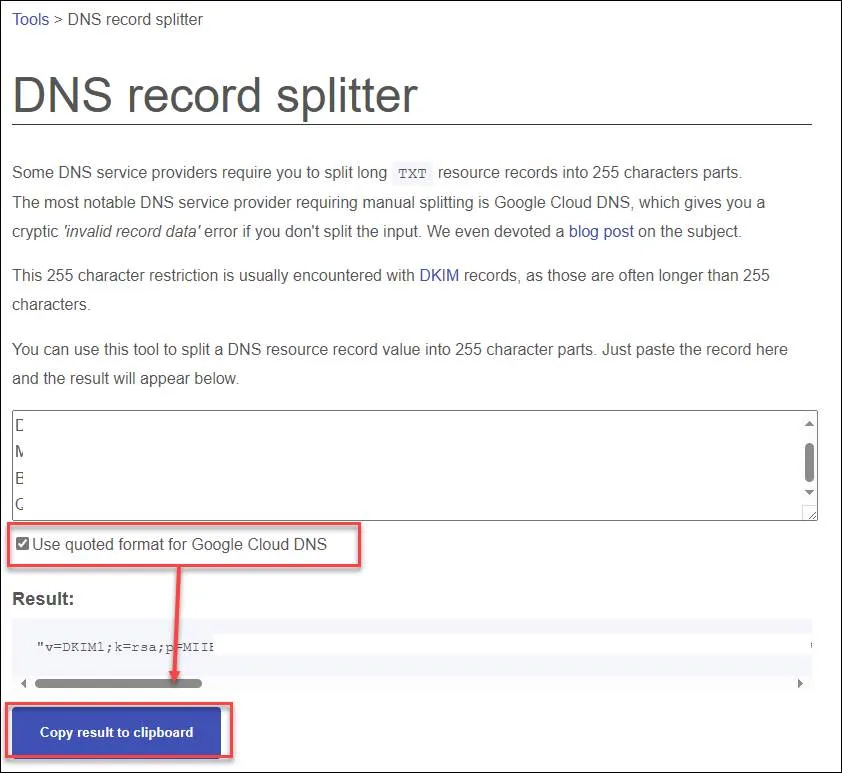
將TXT內容貼上至 DNS record splitter - Mailhardener tools ,並勾選Use quoted format for Google Cloud DNS複製即可
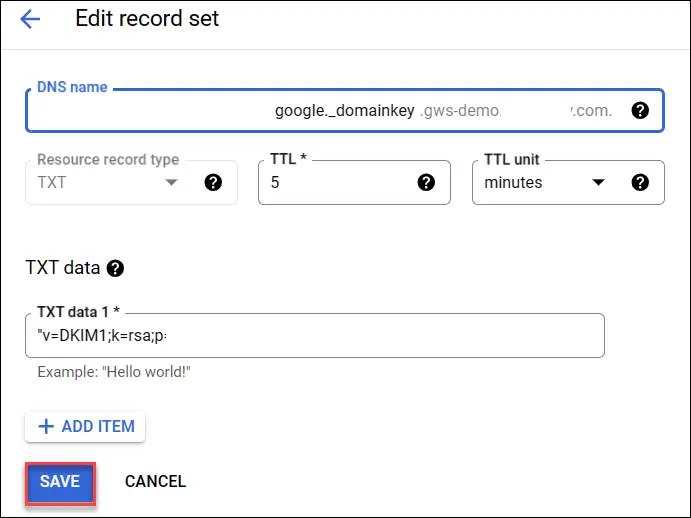
貼上至介面建立與存檔即可
至Google Dig 工具察看確認是否正常生效
完成後靜待生效
SPF驗證
於DNS中貼上 "v=spf1" "include:\_spf.google.com" "~all" TXT紀錄即可